
Beginner doctrine
Ex Sanguis Beginner Guide: Your First Winning Turn
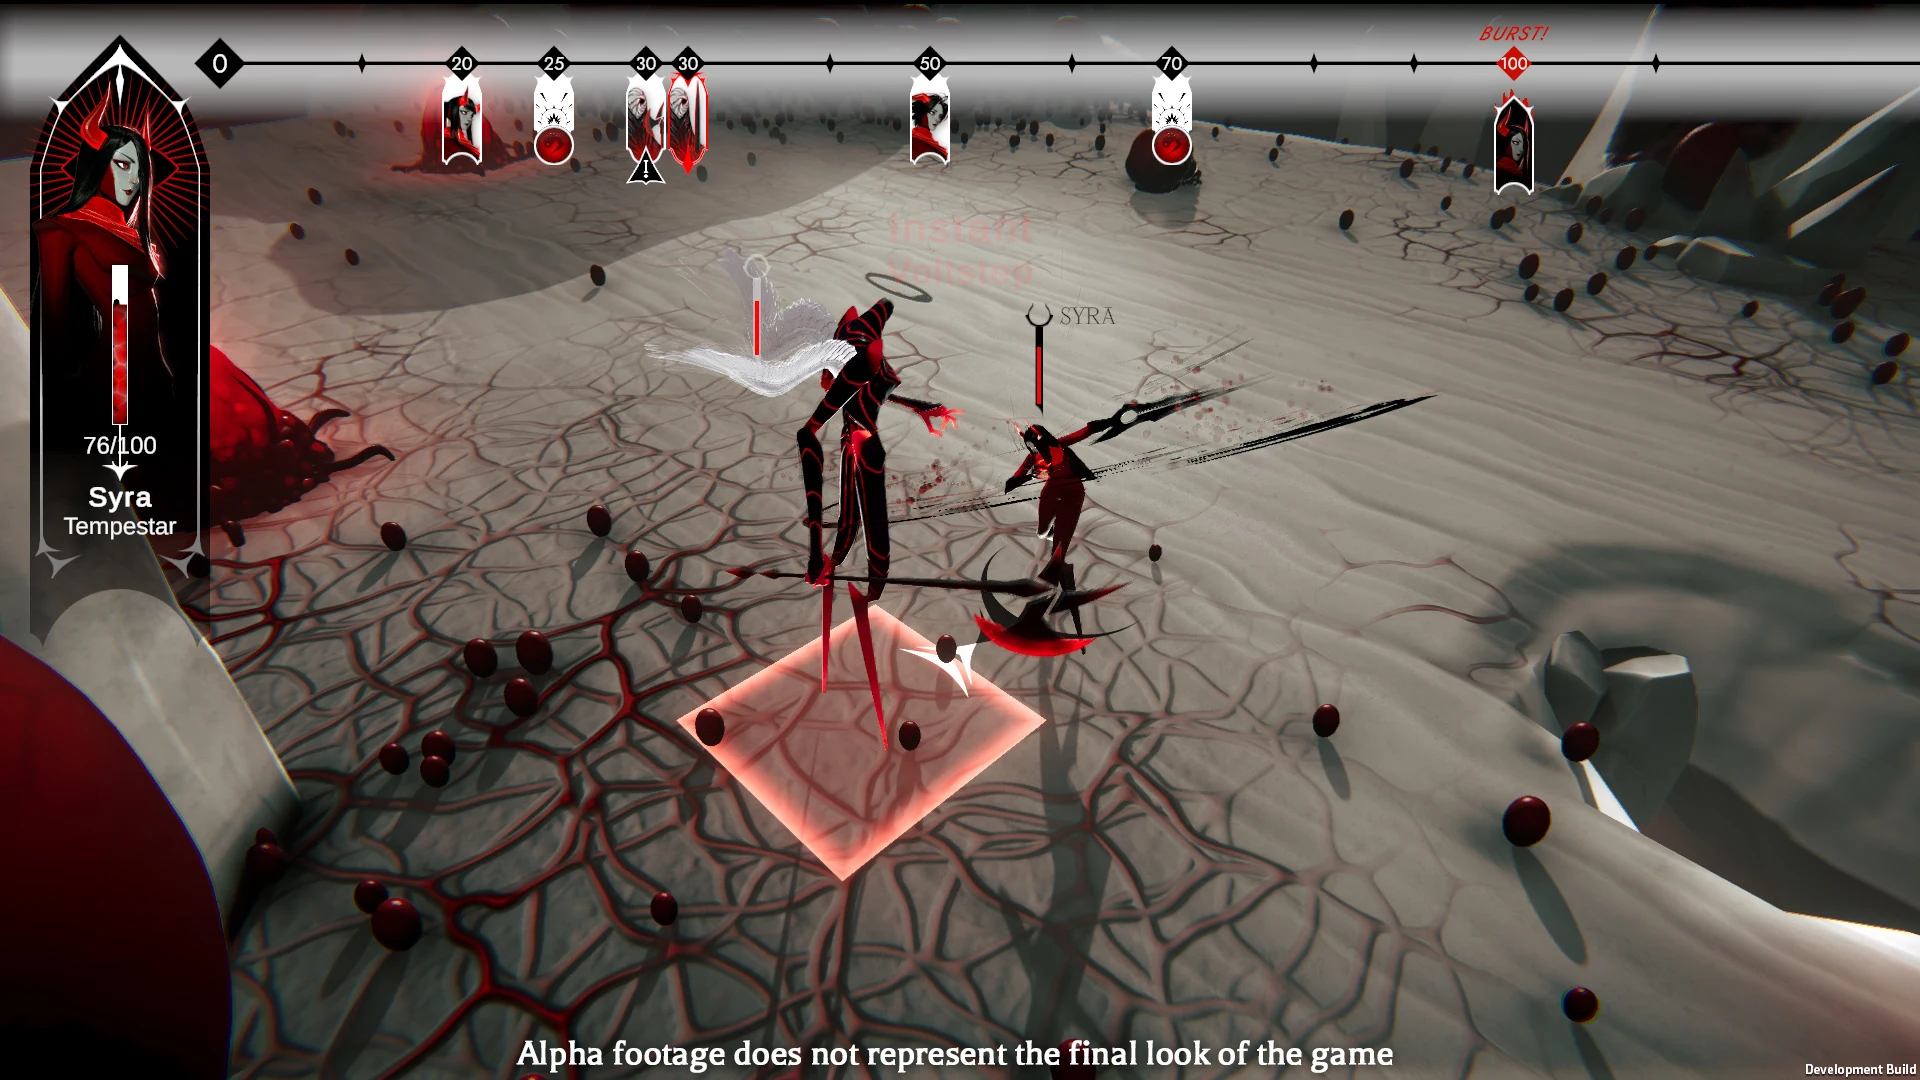
Ex Sanguis looks like a game about selecting attacks, but its real question is who gets to act, from where, and under what conditions. Damage matters only after that question is settled. The timeline shows the coming sequence; skills can accelerate allies, delay enemies, or swap positions in that order. Movement and forced facing change which attacks are safe. The arena adds explosives, fire and sight lines. Ability Points connect the entire sequence because the same resource that improves the current turn may be needed to adapt later.
This guide focuses on a repeatable decision loop. It deliberately avoids fixed damage numbers and “best skill” claims because the game is in Early Access and official playtest notes already show substantial balance changes.
What you can play in the Steam demo
The demo takes you up to the first boss encounter. Allow roughly 45 to 90 minutes for a run. You can play as Sangladis, Tempestar and Veritor across the Desert of the Drowns and the Convoluted City. The demo pool includes 28 skills, 16 unlockable traits and 20 mission modifiers, with up to two modifiers active at once. Steam demo details
On your first route, check the active modifiers before you compare the rewards. When two are active, ask what they do together. If both make it harder for you to keep a wounded Stilla safe, a route with a less tempting reward can be the better way to reach the boss. Use the early encounters to practice one control action followed by one payoff, then check who acts next.
The first boss is the demo milestone. Uriel is a later addition to the Early Access game in The Voice of Uriel. If your mission objective asks you to outlast waves, use the Survival guide to plan around its TU target.
1. Start with the next dangerous action
Do not begin by asking which ability deals the largest number. Read the timeline and find the first enemy activation that can meaningfully damage, disable or trap a Stilla. That activation is your problem statement.
Then ask three questions:
- Can the enemy be defeated before it acts?
- Can its activation be delayed until your team has moved?
- Can position, facing, cover or line of sight make the action harmless?
If one answer is clearly cheaper than the others, it becomes the spine of the turn. This keeps you from spending several skills on unrelated targets and discovering that the original threat still acts next.
2. Apply control before damage
Control has compounding value when it comes early. A delay that moves an enemy behind two allied turns can create time for setup and a finishing strike. A knockback can place the same target beside a hazard while also opening a flank. Forced facing can protect one character and create a better attack angle for another.
This does not mean every turn needs an elaborate combo. It means the order should make sense. If an attack gains value from a target being exposed, displaced or delayed, create that condition first. If a target must die immediately, do not add decorative setup that costs more than it returns.
3. Treat Ability Points as flexibility
Ability Points, or AP, are more than fuel for a stronger action. They are permission to change the plan. Spending the last available point may be correct when it removes the only major threat or finishes a mission objective. It is dangerous when the payoff is merely extra damage on a target that was already controlled.
Before committing AP, name the benefit in a complete sentence: “This point prevents the next enemy activation,” “This point secures the environmental chain,” or “This point turns Burst Mode into a clean finish.” If you cannot describe a concrete change to the battle state, keep the point.
4. Use the arena as part of the squad
The official store description confirms explosive objects, ignitable elements and line-of-sight interactions. Read the floor before selecting a skill. A target beside an explosive is not just an enemy; it is an opportunity to turn one action into area pressure. A narrow angle can protect a wounded character. A knockback lane can be more important than raw range.
Environmental plans fail when players trigger the payoff before arranging targets. First align the enemy, then verify your own characters are clear, and only then ignite or detonate. If the chain leaves the squad exposed to the next timeline entry, it was not a complete plan.
5. End the turn by checking the next one
A turn is not finished when your actions are gone. It is finished when you understand what happens next. Scan the timeline again. Check the closest threats, facing and sight lines. Confirm whether a displaced enemy now threatens someone new. If you used Burst Mode, inspect what flexibility you traded for the extra sequence.
The best beginner habit is a ten-second end check: next actor, likely target, available cover, remaining AP, escape route. This catches more losses than memorizing an unstable tier list.
Common beginner mistakes
The first is attacking the nearest enemy instead of the next meaningful threat. The second is spending AP because the interface allows it, not because the battle state demands it. The third is using timeline control after damage, when the control could have enabled every action before it. The fourth is moving for a single flank while ignoring what the move exposes. The fifth is treating Burst Mode as a default damage button instead of a commitment tool.
When a turn collapses, reconstruct it in reverse. Which enemy action caused the problem? What condition allowed it? Which earlier AP spend or movement removed your answer? That review turns a failed run into a reusable rule.
What to learn next
Use the Turn Planner when a fight presents too many options. Read timeline control if enemies keep acting before your setup, or the Ability Points and Burst Mode guide if strong openings leave you helpless afterward.
Hotfix #1 (September 22): what a new player should notice
Two small changes from the first hotfix make Early Access easier to learn:
- Modifiers are now shown once applied. Until this hotfix, an applied modifier could be invisible in the interface, which made it hard to connect cause and effect while learning the timeline. If a unit suddenly behaves differently, check the modifier list before assuming a bug.
- The mission info panel now shows whether the mission is won or lost. The screen no longer leaves the run’s state implicit.
The same hotfix also fixed the Shoulder Charge preview appearing on adjacent entities to the target, the mini-boss death animation, the thunder sound effects, and desert holes whose collision did not match the grid they were drawn on. Skill setup screens also regained the missing status effect descriptions.
Hotfix #2 (September 25): what a new player should notice
The second hotfix cleaned up both named boss fights and one interface trap that used to eat beginner turns:
- Skills are no longer shown as playable when a Stilla does not have enough Ability Points. The interface used to invite actions that could not be paid for; what is offered should now match what each Stilla can afford. The Ability Points guide covers the reserve habit that goes with it.
- The blood needed to enter Saraqael’s fight is now visible on the map, so a route section that seemed to dead-end in that area is worth another look.
- Ishim no longer gets stuck at 1 HP, and Ishim and a Stilla can no longer die together during Ishim’s boss fight.
- Gale and other backstab abilities no longer deal over 300 damage in boss fights. If a boss died in seconds, that was this bug rather than a combo you have to replicate.
- Smaller fixes: Shoulder Charge preview (a second pass after Hotfix #1), half-tiles on the map border, and the full dark model that could flash for a frame when a unit spawned.
One known issue is still open: the Stillae spawning with half their health points. The developers say they are still working on it — check your starting health before blaming the route.
Hotfix #3 (September 28): squad-screen fixes
A small patch that cleaned up what you see while setting up a run:
- The class shown for your next Stilla now matches what you actually picked. The previous selection could stick around, so the confirm screen could disagree with your choice; it now tracks your pick.
- Portraits match their classes again on the creation screen and the timeline — brawler and sangladis portraits had been mixed up in places.
- The red victory background no longer lingers after a fight ends, and half-tiles along the desert map border are fixed.
Hotfix #4 (October 7): Survive missions, the Summoner, and a smoother flow
The biggest update since launch adds a new mission type and a new unit alongside a long fix list:
- Survive missions are in. Your timeline shows a marker for them, so you can spot one while planning your opening moves.
- The Summoner arrives with its own model and animations; expect it in your runs from here on.
- Meta progression reads clearer: upgrade types now specify which classes they affect, and the icons were redrawn.
- Difficulty now stays where you set it instead of needing a reselect each mission, and the map’s “add difficulty” text now says the modifier is cumulative.
- New boss achievements, and boss deaths get a camera close-up.
- Flow fixes: victory now cuts the chain of events; quitting a mission warns you it will be lost; the timeline stops refreshing once all your Stillae are dead.
- Combat fixes: the Shoulder Charge camera and damage-preview issues, the map’s target button picking the wrong boss, and Saraqael’s “I’m Ready For This!” reaction skill are all addressed.
Read the current skill card before spending AP. Skill costs and starting loadouts can change during Early Access.