
Squad building
Ex Sanguis Classes, Traits and Progression Guide
The Steam demo features Sangladis, Tempestar and Veritor. Each class has seven skills in the demo alongside seven shared skills and a pool of 16 unlockable traits. Use the current loadout to decide who can set up an attack, who can finish it and who can pull the squad out of trouble. Steam demo details
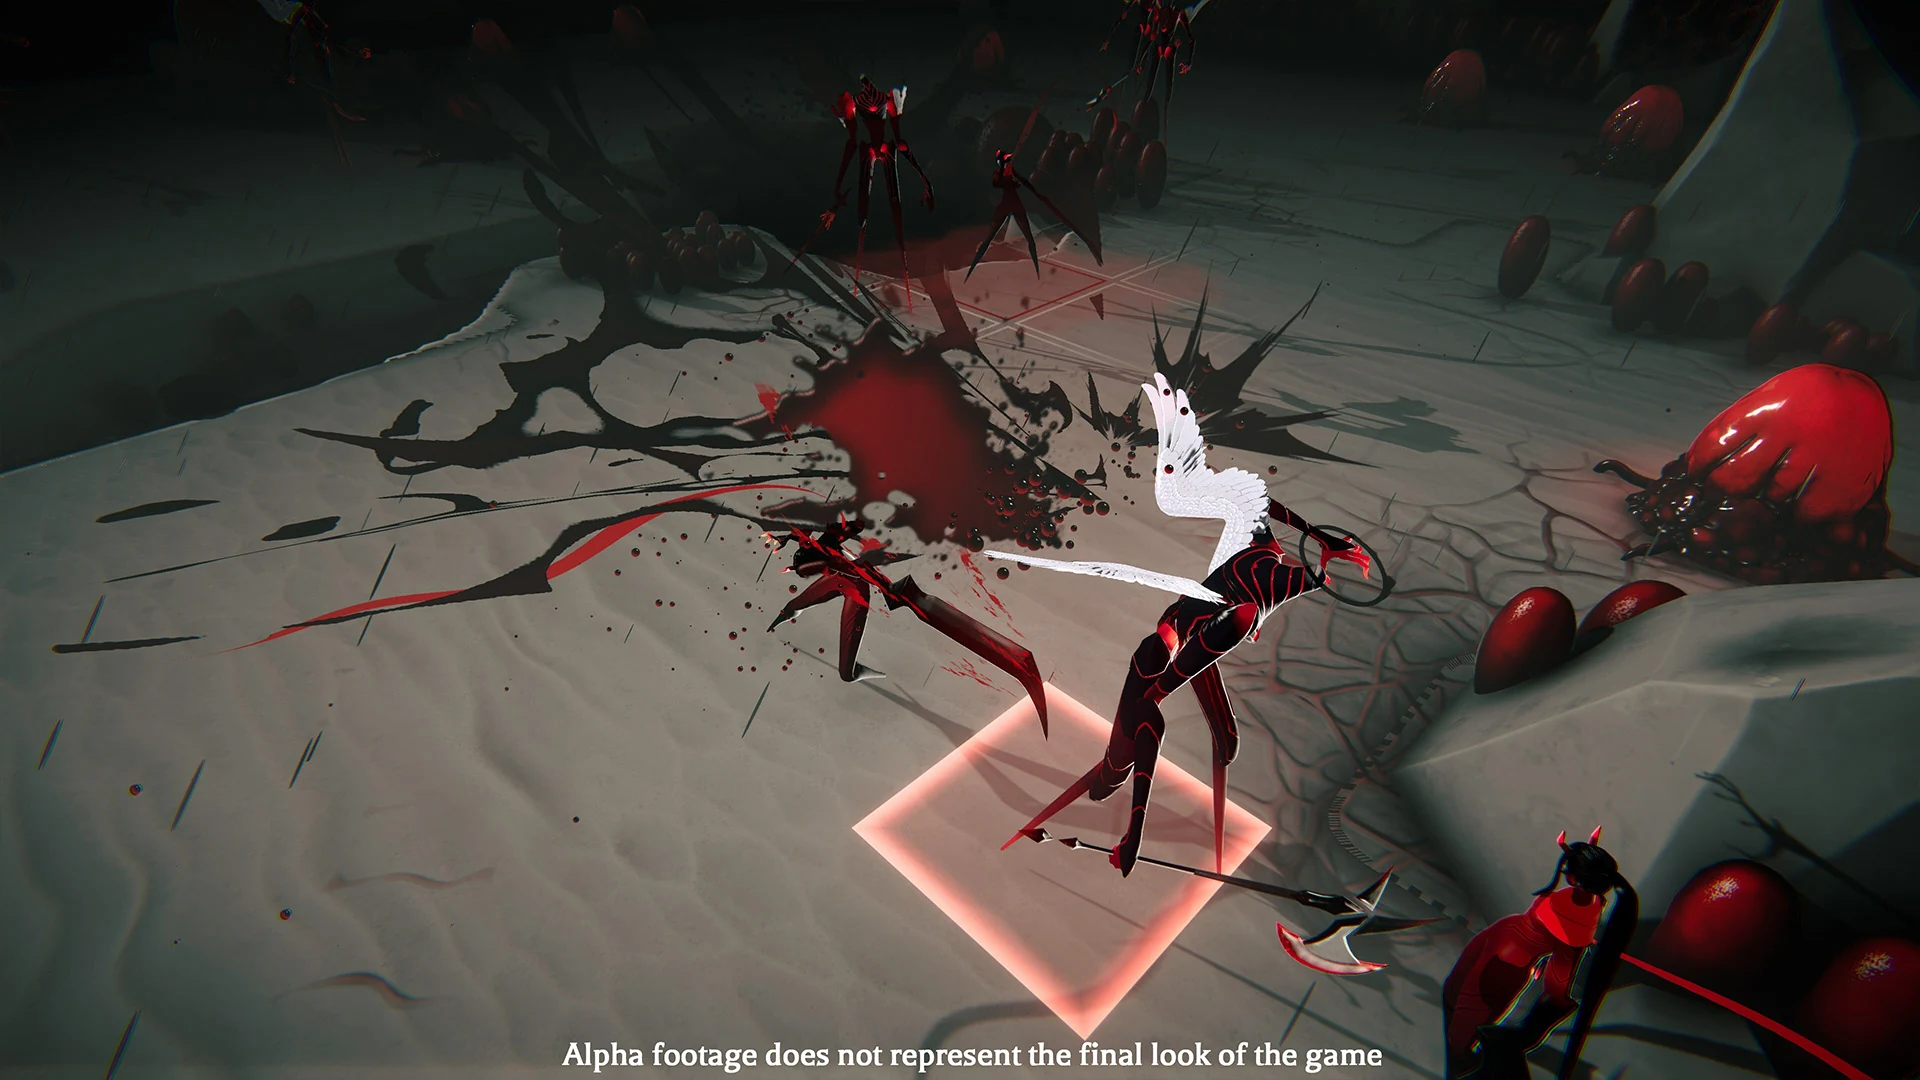
Read a class through its battlefield job
A useful class description answers four questions. How does this Stilla change the timeline? How does it change position or facing? What kind of opening does it exploit? What does it contribute when the ideal combo is unavailable?
This approach prevents a name or starting kit from becoming a prison. Random skill drops and changing loadouts mean a run may ask one character to solve a different problem than expected. The squad remains coherent when every pickup is judged against missing jobs.
Sangladis: evaluate the conversion role
Treat Sangladis first as a candidate for turning a controlled target into a finished exchange. Look for skills and traits that benefit from the angles, exposure or openings your other Stillae create. The important question is not whether a pickup increases a displayed number; it is whether the character can reach and exploit the priority target without consuming the resources needed for safety.
When Sangladis is already reliable at conversion, improve access or consistency rather than adding a second version of the same payoff. A finisher that cannot reach the setup is not a complete role.
Tempestar: evaluate order and space
The official July playtest notes explicitly changed Tempestar’s starting skill and health, so old demo openings are version-sensitive. Evaluate the current build by function: can Tempestar move actors on the timeline, shape a cluster, reposition safely or create the window another character needs?
Prioritize control that connects to the squad’s actual payoff. A dramatic timeline effect is wasted if no ally can use the window. A modest shift can be decisive when it moves the right enemy behind a prepared finisher.
Veritor: evaluate stability and access
For Veritor, inspect how the current loadout supports reliable execution: access to a threatened ally, protection from a bad angle, setup for another Stilla, or a safe answer when the planned chain breaks. The best supporting action is the one that preserves the team’s next meaningful choice.
Avoid treating support as passive. Repositioning, denying a line or creating a safer sequence may generate more effective damage than another direct attack because it keeps multiple future actions available.
Choose skills by missing function
After every random drop, name the squad’s weakest job. It may lack an interrupt, displacement, safe access, timeline movement, environmental conversion or a dependable finish. Compare the offered skill with that gap.
The strongest pickup in isolation can be the wrong pickup for the run. Redundant payoffs compete for the same setup, while a modest control tool may unlock every existing attack. Ask which current skill becomes better because of the new one.
Choose traits for reliability
Traits should make the core loop happen more often, with less exposure or less resource pressure. A trait that helps the squad reach its setup, preserve AP, survive an imperfect line or exploit a recurring condition has strategic value beyond a single high roll.
Do not build around a trait whose exact interaction has not been confirmed in the current version. Read the live tooltip and test the behavior in a low-risk situation. Early Access updates can change wording, rarity and numbers.
Loadouts should tell a short story
A coherent loadout can be spoken as a sequence: create the window, place the target, convert the opening, restore safety. If several equipped skills cannot be placed anywhere in that sentence, the build may contain power without a plan.
Leave room for a fallback. Missions and route choices can present enemies or modifiers that deny the preferred pattern. At least one character should still contribute when displacement fails, when targets spread out, or when the arena offers no useful hazard.
Choose a second answer before taking a Survival route
A damage-focused loadout can struggle when waves arrive from different lanes. For a Survival mission, check whether two different Stillae can cover an exposed ally. One can move a threat down the timeline while another protects the retreat or breaks its line of sight. If both options belong to the same Stilla, watch for turns where that character acts too late to help.
When choosing between rewards, compare the control or movement skill that gives you a second answer with a damage skill you already have a substitute for. For boss fights, make sure the character creating the opening still has a useful turn when their preferred control tool cannot land.
Progression decisions between missions
The official store description points to route, difficulty, resource and boss decisions. Judge progression by the next problem, not only the final fantasy of the build. A route that supplies a missing function may be more valuable than a harder encounter offering another payoff. A boss choice should consider whether the current squad has an answer to its likely pressure.
Because exact rewards and route contents can change, this guide does not prescribe a fixed map path. Use a decision ledger: current weakness, desired pickup, risk you can absorb, and fallback if the reward does not appear.
Read the beginner guide for the core turn loop or the combat guide for a full encounter framework.
Hotfix #1 (September 22) — skill and status tooltips
The first hotfix restored missing status effect descriptions in the skill setup screen, which matters while planning a loadout: until this fix, a status a skill applied could appear without its explanation. Applied modifiers are also now shown once they take effect, so a build’s state can be checked during a mission rather than inferred from the log.
Balance itself was not touched in this hotfix — the points on this page about choosing traits for reliability rather than frozen numbers still hold.
Hotfix #3 (September 28) — class display and portraits
The squad screen used to remember the previous Stilla’s class when you picked the next one, so the display could disagree with your actual selection; it now tracks the current pick. The brawler and sangladis portraits, which had been mixed up in places on the creation screen and the timeline, now match their classes.
Check starting skills, rarities and health on the current squad screen before planning an opening.